
|
Features
|
|
|
|
Books
|
|
|
|
Fun & Games
|
|
|
|
Contact Us
|
|
|
John's Journal... Entry 56, Day 4
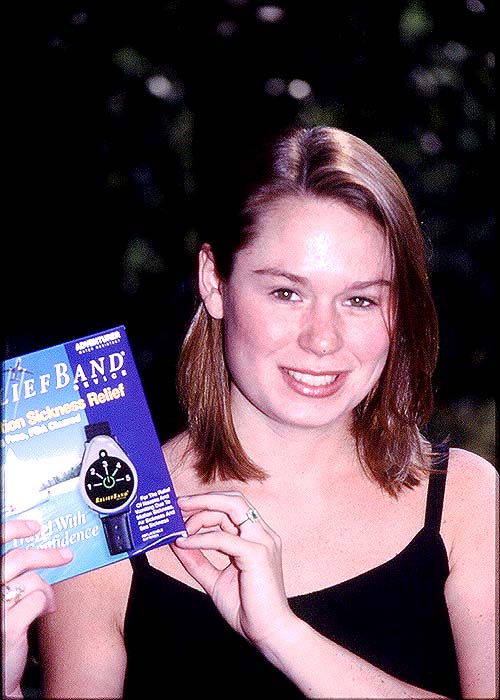
Where to Put the ReliefBand for Maximum Effectiveness
 EDITOR'S
NOTE: Several months ago, I received a press release from Woodside Biomedical
Company in California introducing a new product called ReliefBand to the
fishing market. Woodside claimed that this device had the ability to stop
the nausea and discomfort associated with seasickness. Although extremely
skeptical, I tried it on my next fishing trip.
EDITOR'S
NOTE: Several months ago, I received a press release from Woodside Biomedical
Company in California introducing a new product called ReliefBand to the
fishing market. Woodside claimed that this device had the ability to stop
the nausea and discomfort associated with seasickness. Although extremely
skeptical, I tried it on my next fishing trip.
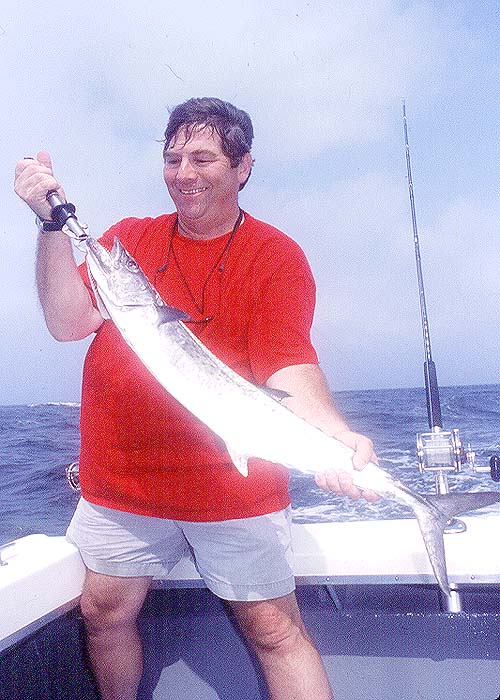
During a week-long period in the summer of 2000, I fished with three different groups of people in the Gulf of Mexico and tested the ReliefBand on five different individuals. I found that every one of them recovered from his or her seasickness within 20 minutes of using it. On another trip several months later again at the Gulf of Mexico, eight people on our boat became sick. Five of the eight had their symptoms relieved by wearing the ReliefBand.
 To
learn what makes this watch-like pulsating device stop seasickness for
80 to 85 percent of the people who try it, I interviewed Dan Rutledge
of Sugarland, Texas, the vice president of corporate sales for Woodside
Biomedical.
To
learn what makes this watch-like pulsating device stop seasickness for
80 to 85 percent of the people who try it, I interviewed Dan Rutledge
of Sugarland, Texas, the vice president of corporate sales for Woodside
Biomedical.
Question: What do you mean by putting the ReliefBand in a specific location?
Answer: Three major nerves run down the bottom of the wrist: the radial, the median and the ulnar nerves. The pulse needs to hit the median nerve, the nerve that runs down the middle of the wrist, for the ReliefBand to work. The best place to access this nerve is about two finger widths back from the crease on the wrist closest to the fingers. The nerve lies right in-between the two tendons on the wrist. To find this spot, put a drop of the gel supplied with the ReliefBand, and smear it around on the wrist area. The gel, a conductivity medium, helps the electricity transmit through the skin and/or fat tissue, into the nerve. Then, turn the device on, and place it on top of the gel. Slowly move the ReliefBand around with the power turned up, until you feel a sensation down the middle of the hand and ultimately down into the two middle fingers. Once you feel the sensation, use the wrist strap to tighten the device and increase the intensity of the pulse by turning the dial up until you reach the highest setting you can tolerate. Leave the ReliefBand on that setting until your symptoms begin to subside. Then, you can decrease the amount of pulse you're receiving as your symptoms go away.
 JOHN'S
NOTE: My daughter is very competitive and was assigned to a competition
with the people she works with involving driving virtual reality NASCARs.
She gets sick even riding in the front seat of the car. You can imagine
how sick she was after feeling that she was whizzing around a car track
at a very high rate of speed for 30 minutes or so. She got so sick, she
had to stop driving to go in the bathroom and throw up several times.
Even when she went home, she still felt like she was driving that car
around sharp turns. She was nauseous all night and even the next morning.
She ran by our house, my wife fixed her up with a ReliefBand, and my daughter
went on to work. She said her nausea abated in the first 30 minutes, and
she was able to do her work. Her stomach eventually calmed down, and she
took the ReliefBand off.
JOHN'S
NOTE: My daughter is very competitive and was assigned to a competition
with the people she works with involving driving virtual reality NASCARs.
She gets sick even riding in the front seat of the car. You can imagine
how sick she was after feeling that she was whizzing around a car track
at a very high rate of speed for 30 minutes or so. She got so sick, she
had to stop driving to go in the bathroom and throw up several times.
Even when she went home, she still felt like she was driving that car
around sharp turns. She was nauseous all night and even the next morning.
She ran by our house, my wife fixed her up with a ReliefBand, and my daughter
went on to work. She said her nausea abated in the first 30 minutes, and
she was able to do her work. Her stomach eventually calmed down, and she
took the ReliefBand off.
 To
learn more about the ReliefBand, write to Woodside Biomedical at 1915
Aston Avenue, Carlsbad, California 92008, (760) 804-6900, or visit the
company's webpage at www.reliefband.com.
To
learn more about the ReliefBand, write to Woodside Biomedical at 1915
Aston Avenue, Carlsbad, California 92008, (760) 804-6900, or visit the
company's webpage at www.reliefband.com.
Tomorrow: Two Different Types Of ReliefBand
Check back each day this week for more about The Reliefband--A Wonder Item No Outdoor Person Should Be Without ...
Day 1 -How the ReliefBand
Relieved Symptoms of Seasickness
Day 2 -Various Settings on the ReliefBand
Day 3 -How Many People the ReliefBand Helps
Day 4 -Where to Put the ReliefBand for Maximum
Effectiveness
Day 5 -Two Different Types of ReliefBand